Set up Outlook (Windows) with your domain email
Versions 2010-2016
- Go to menu Archive
- Locate the section Information
- Click on the button Add Account
- In the window that appears, select Manual configuration or additional server types and click on Following
- Select POP or IMAP and click on Following
2007 versions
- Go to menu Tools
- Click on Account settings…
- In the tab Email click on New
- Select Microsoft Exchange, POP3, IMAP or HTTP and click on Following
- Activate the option Manually configure server options or type of additional servers and click on Following
- Select Internet Email and click on Following
2003 versions
- Go to menu Tools
- Click on Account settings…
- Select Add a new email account and click on Following
- Select server type P.O.P. either IMAP (our recommendation is to use P.O.P.) and click on Following
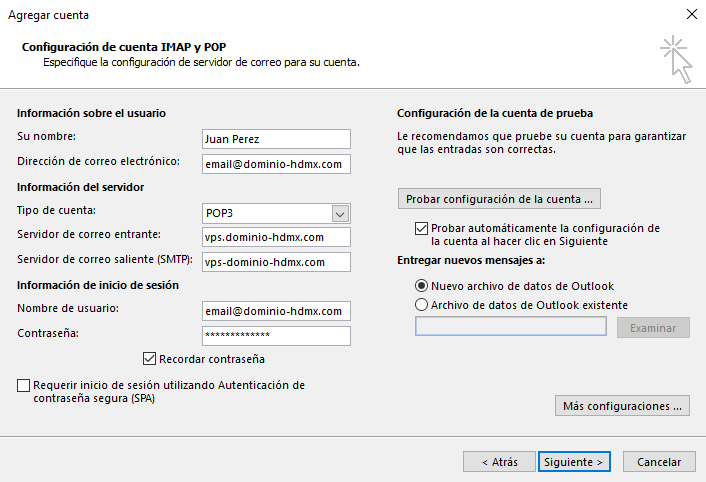
Once on the data screen to configure the account, the following additional steps must be applied for all versions of Outlook
- You must fill out the server data and email account data like the following example (the location of fields may vary depending on the version of Outlook):
- You must click on More Settings

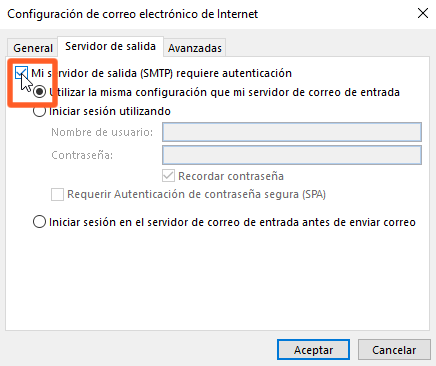
- Go to the tab Outbound server and fill in the data as the following recommendation:
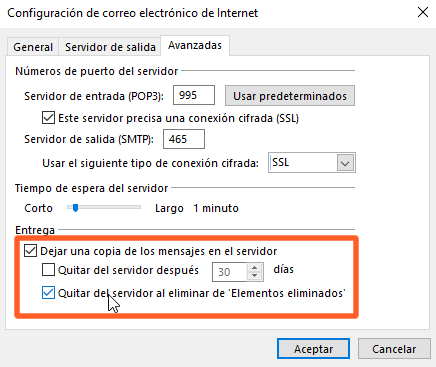
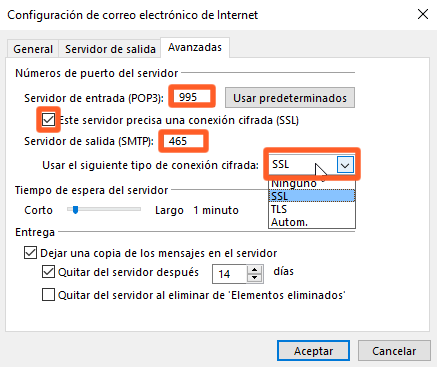
- Go to the tab Advanced and activate the following fields and ports (example is with P.O.P.)
- Configure the delivery section to suit your needs (if the delivery option is NOT enabled Leave a copy of messages on the server once delivered in the email client, they cannot be viewed on another device or email client and only the emails will remain locally)